


Can dual tip markers be used on wood?
Hey there, fellow art enthusiasts and DIY lovers! I'm a supplier of dual tip markers, and I often get asked the question: "Can dual tip markers be used on wood?" Today, I'm gonna dive deep into this topic and share everything you need to know.
What are Dual Tip Markers?
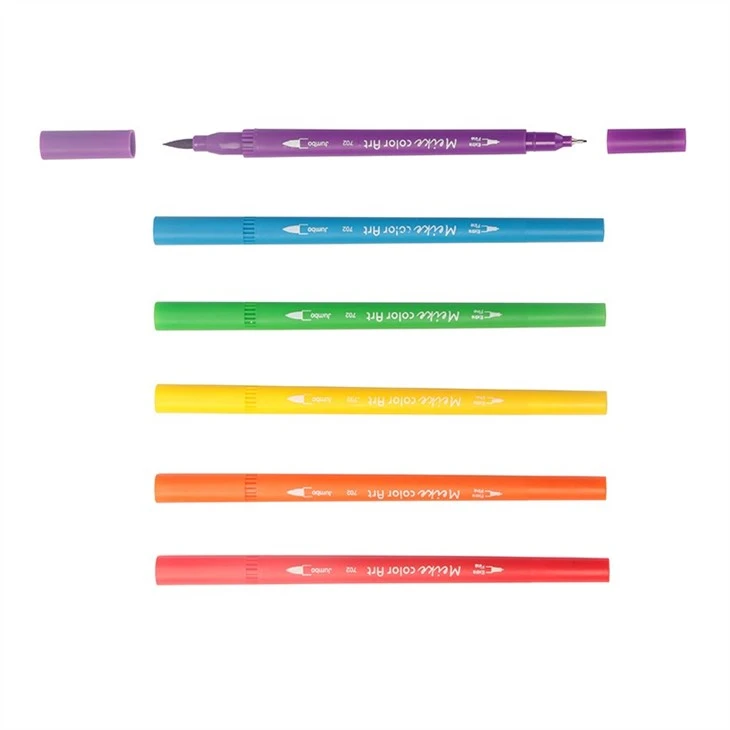
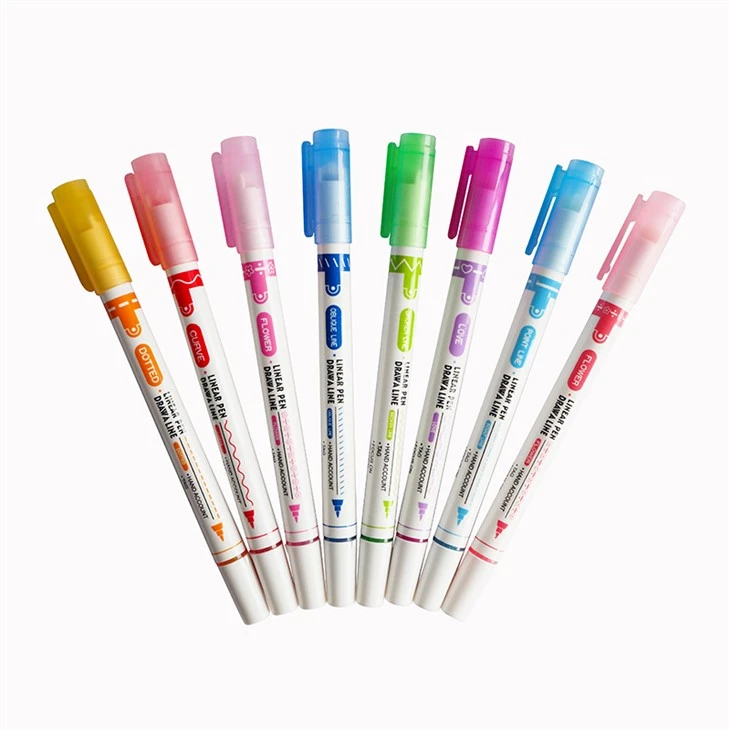
First off, let's quickly go over what dual tip markers are. These nifty little tools come with two different tips on either end. Usually, you'll have a fine tip for detailed work like writing or drawing small designs, and a broad tip for filling in larger areas or creating bold strokes. They're super versatile and can be used for a wide range of projects, from coloring in adult coloring books to adding some flair to your handmade greeting cards.
We offer some amazing dual tip marker sets, like the 100 Colors Dual Tip Brush Marker Pen, which gives you a huge selection of colors to play with, and the Dual Tip Brush Pen Marker Set, perfect for all your creative needs.
The Science Behind Using Markers on Wood
Now, let's talk about using these markers on wood. Wood is a porous material, which means it has tiny little holes on its surface. These holes can absorb the ink from the marker, but it also depends on a few factors.
The type of wood matters a lot. Softwoods like pine are more porous than hardwoods like oak. So, the ink from the marker will soak in more easily on softwood. This can be both a good and a bad thing. On the plus side, the color might adhere better and look more vibrant. But on the downside, it can also bleed or spread out more, making it harder to control your design.
The finish of the wood is another important factor. If the wood has a smooth, sealed finish, like a coat of varnish or paint, the marker might not adhere as well. The ink will tend to sit on top of the finish, and it could even wipe off easily. On the other hand, unfinished wood will absorb the ink more readily, but it might also make the colors look a bit different than on a non - porous surface.
Advantages of Using Dual Tip Markers on Wood
There are several cool things about using dual tip markers on wood. For starters, they're really convenient. You don't need to carry around a bunch of different pens or brushes. With just one marker, you can switch between fine details and broad strokes.
Let's say you're making a wooden sign. You can use the fine tip to write out a cute message, and then use the broad tip to fill in some background color or add some decorative elements. It's a quick and easy way to add a personal touch to your wood projects.
Another advantage is the color range. Dual tip markers come in a wide variety of colors, so you can create really unique and eye - catching designs. Whether you want a bright, bold look or a more subtle, pastel color scheme, there's a marker color for you. Our Blendable Twin Tip Marker Set is great for creating blended color effects on wood, giving your projects a professional look.
Challenges and How to Overcome Them
Of course, there are some challenges when using dual tip markers on wood. One of the biggest issues is bleeding. As I mentioned earlier, the porous nature of wood can cause the ink to spread out. To prevent this, you can try pre - treating the wood. You can apply a thin coat of clear acrylic sealer to the wood before you start marking. This will help to seal the pores a bit and reduce the bleeding.
Another challenge is that the color might not look as intense as you'd like, especially on lighter - colored woods. You can fix this by applying multiple layers of the marker. Let each layer dry completely before adding the next one. This will build up the color and make it more vibrant.
Tips for Using Dual Tip Markers on Wood
- Test First: Always do a test on a small, hidden area of the wood before you start your main project. This will help you see how the marker behaves on that particular type of wood and finish.
- Use a Light Touch: Pressing too hard on the marker can cause the ink to flow out too quickly and lead to bleeding. Use a light, steady hand to control the flow of the ink.
- Let it Dry Completely: Give the marker plenty of time to dry. This will not only prevent smudging but also help the ink set properly into the wood.
- Seal the Design: Once you're happy with your design, apply a clear sealer over it. This will protect the marker from fading and smudging over time.
Real - Life Examples
I've seen some really amazing projects where people have used dual tip markers on wood. One customer made a beautiful wooden picture frame. They used the fine tip to draw little flowers and vines around the edges of the frame, and then used the broad tip to color in the background with a soft pastel color. It looked absolutely stunning!
Another person created a set of wooden coasters. They used different colors of dual tip markers to create geometric patterns on each coaster. The result was a unique and functional set that they could use or give as gifts.
Conclusion
So, can dual tip markers be used on wood? Absolutely! With the right techniques and a bit of experimentation, you can create some really awesome projects using these markers on wood. Whether you're a beginner or an experienced artist, there's no limit to what you can do.
If you're interested in trying out our dual tip markers for your wood projects, or if you have any questions, don't hesitate to reach out. We're always here to help you with your creative endeavors. Let's start making some beautiful art together!
References
- Wood Finishing Guide, DIY Home Improvement Library
- Marker Art Techniques, Online Art Community Forums
